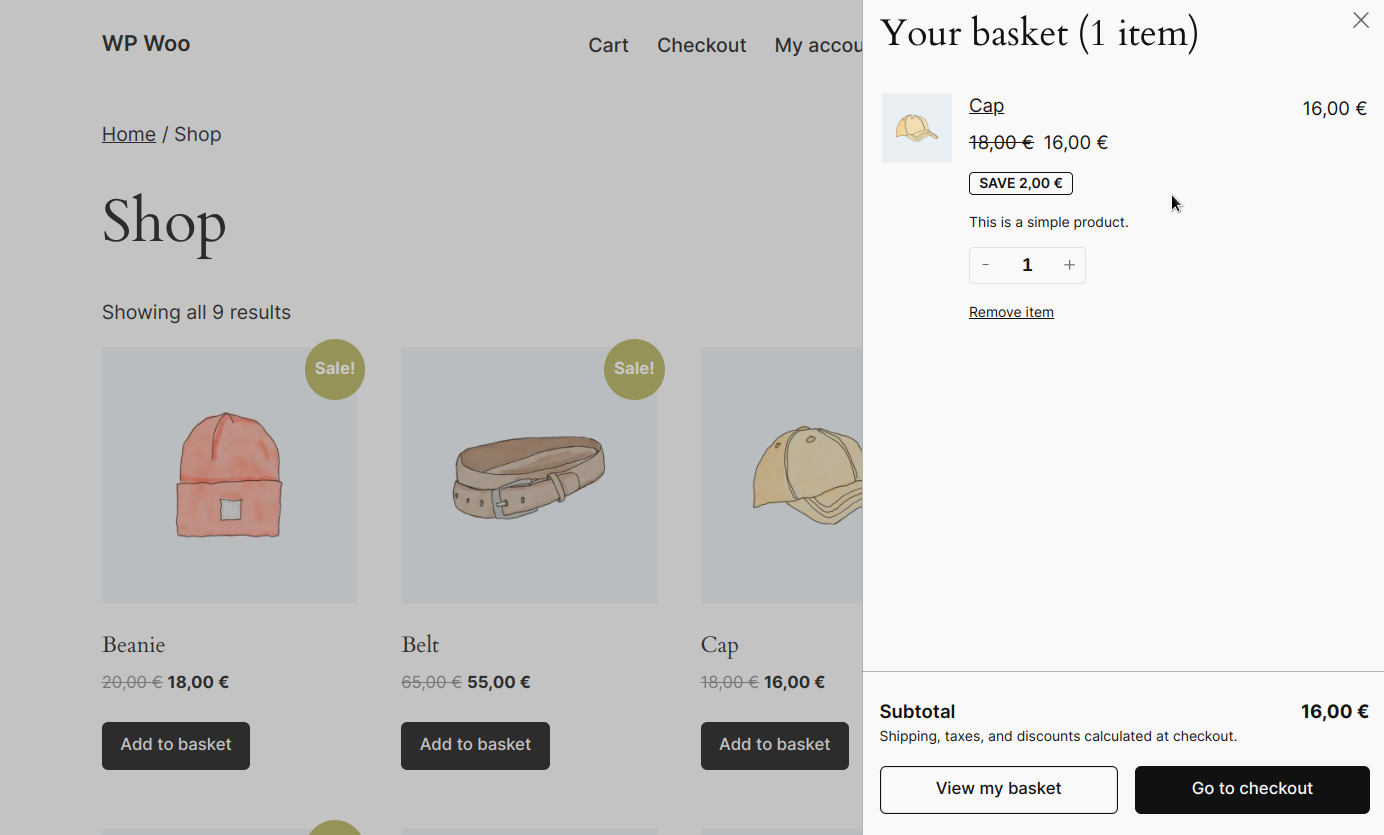
In this tutorial we’ll learn how to debug WooCommerce Add to Cart action with Code Profiler in 10 easy steps.
Step 1
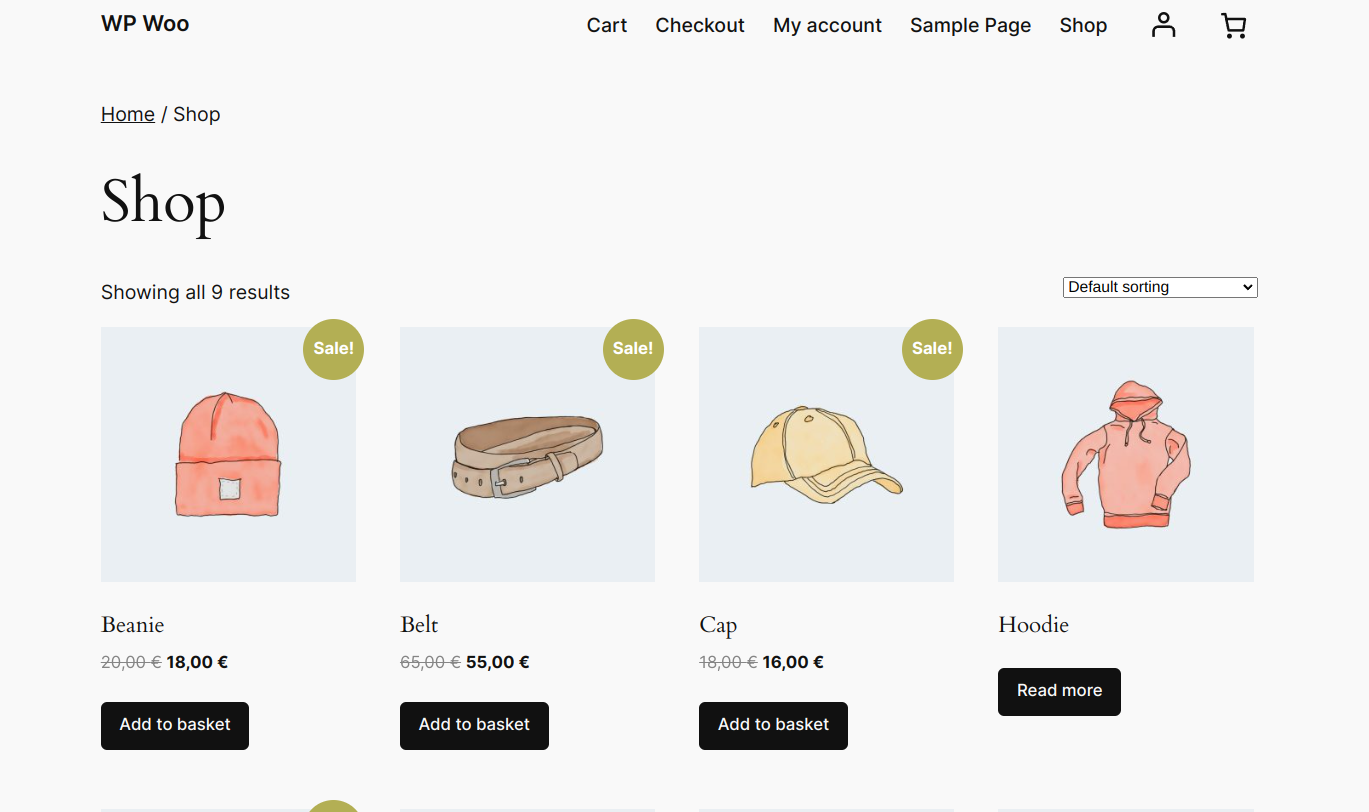
Access the page that has the item you want to add to the shopping cart:
Step 2
Note that in this tutorial we’ll use Chrome, but other browsers have very similar features.
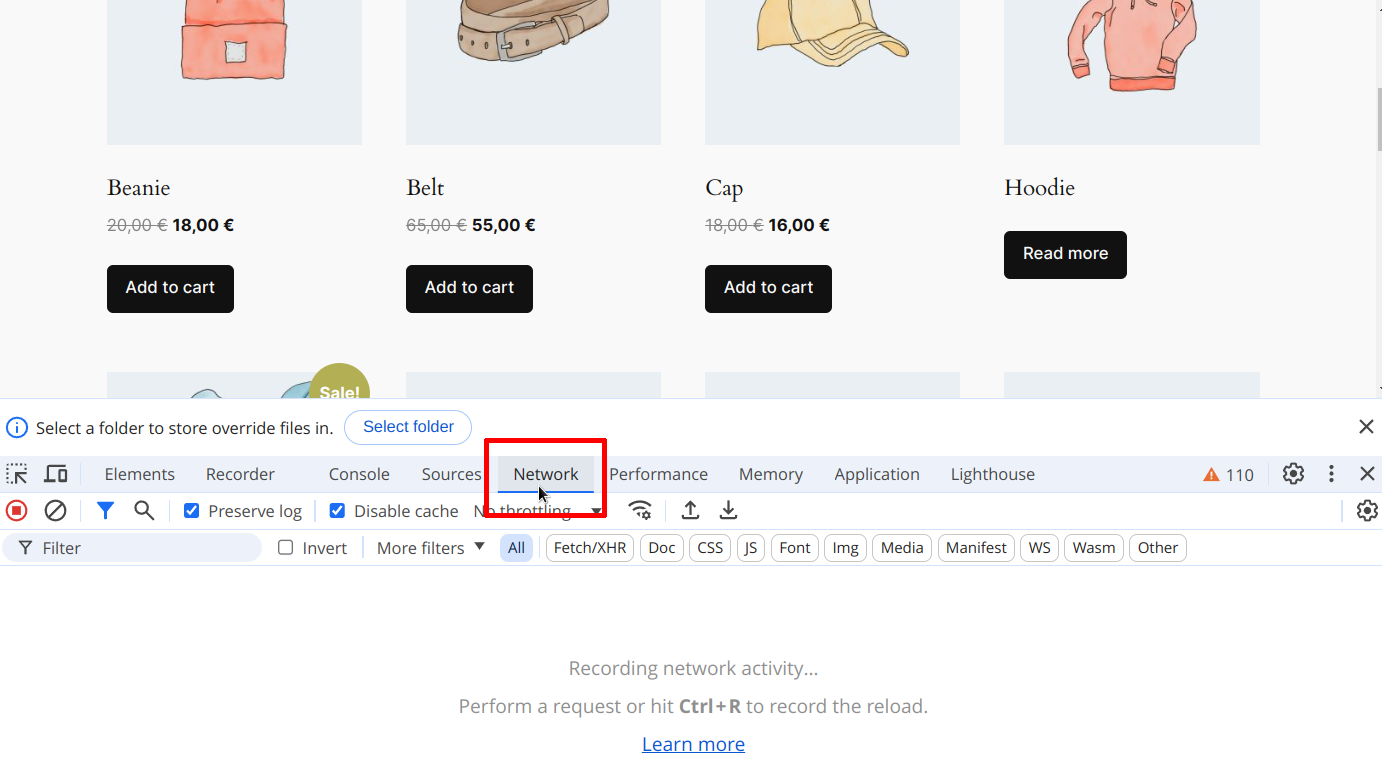
Open your browser’s Developer Tools window. On most browsers, you can do so by using the CTRL + Shift + i shortcut. Then, select the “Network” tab:
Step 3
Click the “Add to cart” button of the corresponding item:
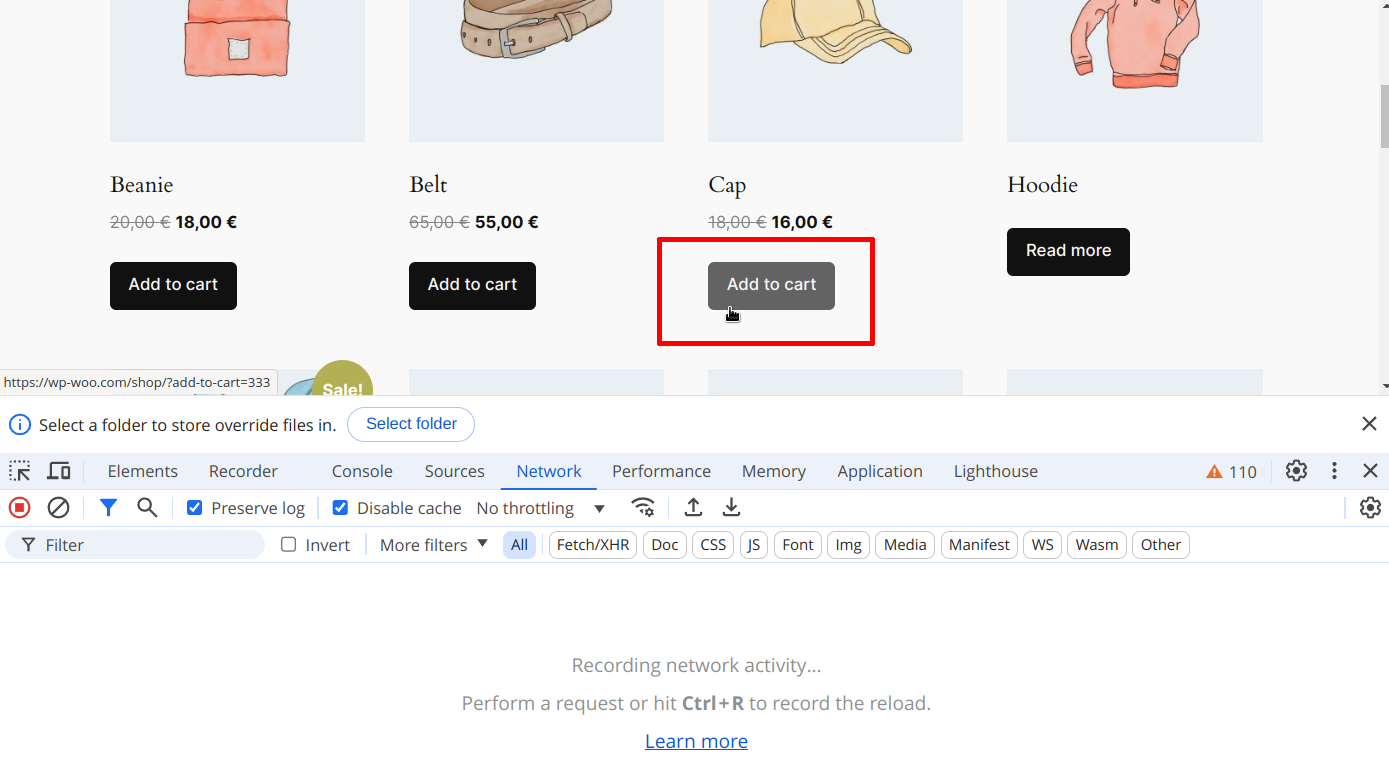
You should see at least the ?wc-ajax=add_to_cart request used by WooCommerce to communicate with its AJAX endpoint:
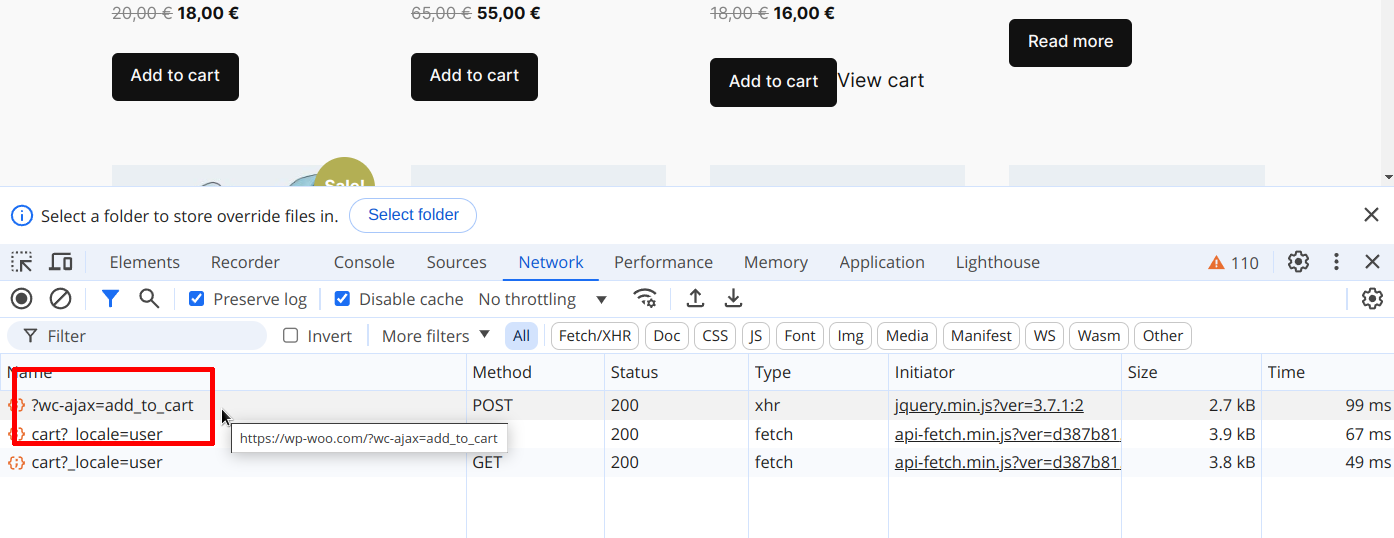
Step 4
Click on the line and the details of the request should now be displayed on the right of it:
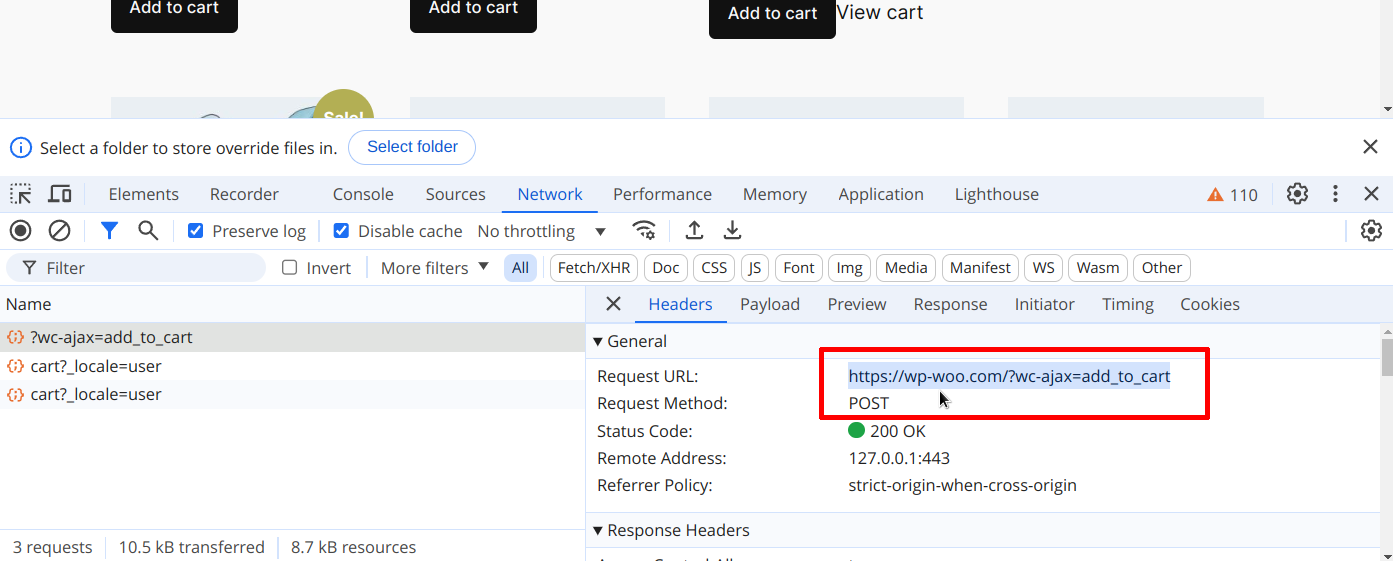
We can see in the “General” section the Request URL (https://wp-woo.com/?wc-ajax=add_to_cart) and the method (POST).
Copy the data, go to Code Profiler main page and select “Custom post/URL” as the page to profile, then enter the full URL with its query string in the input field:

In the “Run profile as” section, select “Unauthenticated user”, even if your shop requires users to be authenticated, because we are going to use cookies for the authentication process if needed.
Step 5
Scroll down to the Request Headers section of your Developer Tools window:
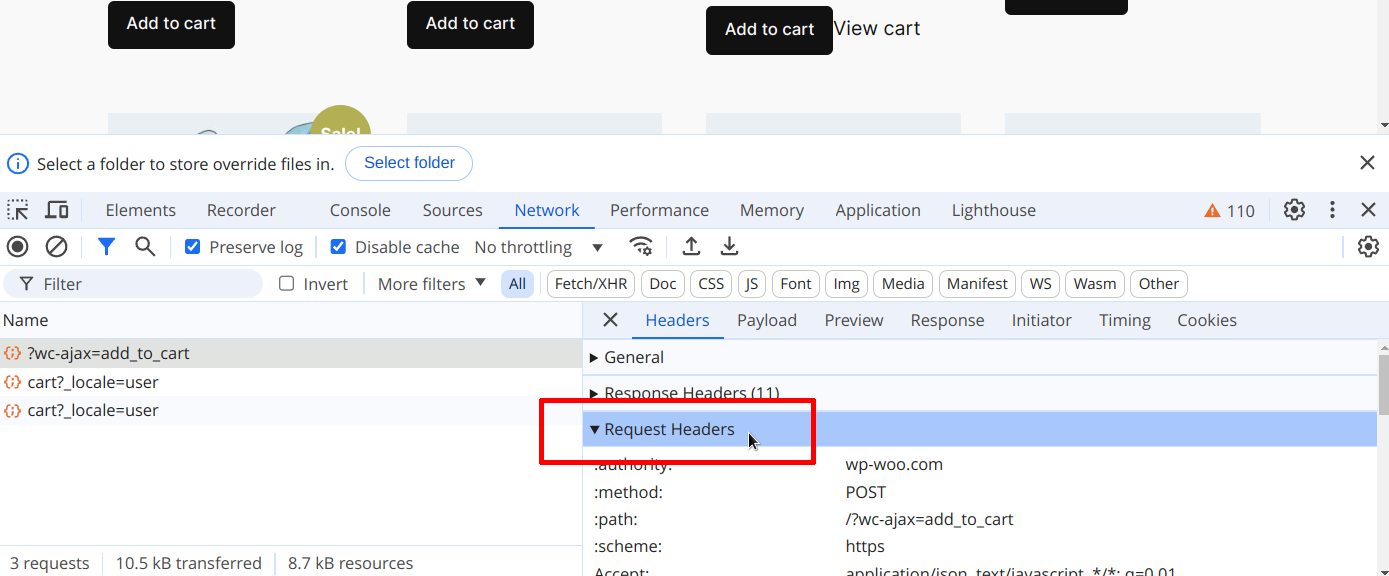
Search for the “Cookie:” label. If the user was authenticated, you should see at least two cookies:
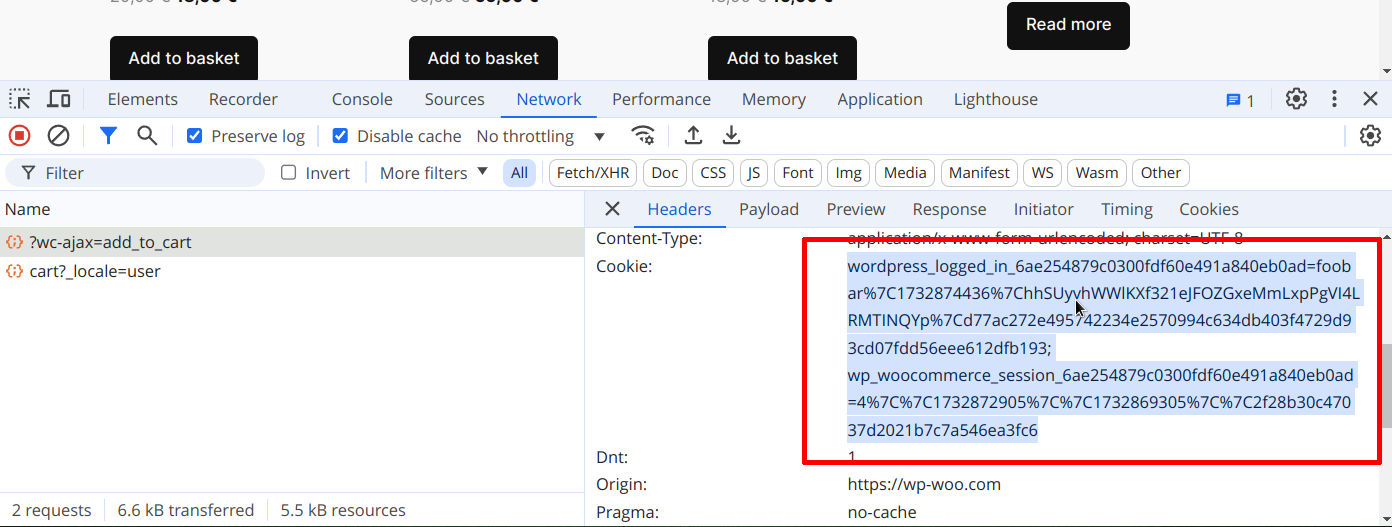
The wordpress_logged_in_* cookie is used to authenticate the customer, and the wp_woocommerce_session_* cookie is WooCommerce session cookie.
If your shop allows unauthenticated users to place an order, you will only see the wp_woocommerce_session_* cookie:
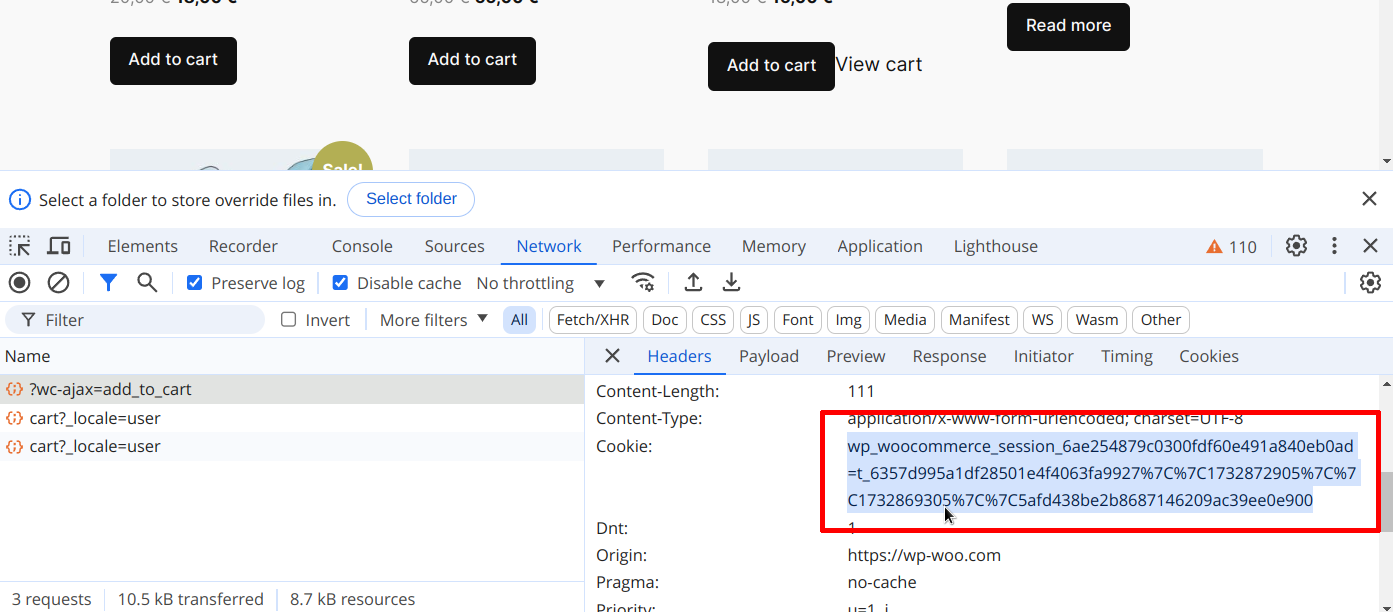
Select all cookies and press CTRL + C to copy them.
If you see other cookies, copy them as well as they could be used and required by other plugins or extensions.
Step 6
Go to Code Profiler, click “Advanced Options” and paste the cookie(s) into the “Cookie” section as per follows:
Authenticated user
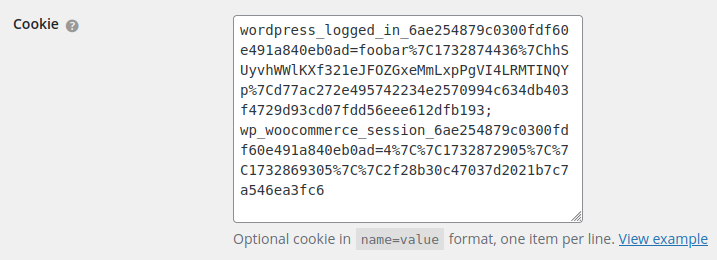
Unauthenticated user

Step 7
Go back to the Developer Tools, click on the “Payload” tab and scroll to “Form data”. That is the POST payload that was sent over AJAX when submitting the form. There should be at least four lines, but some extensions may add more lines. Select all of them with your mouse, and copy them (CTRL + C):
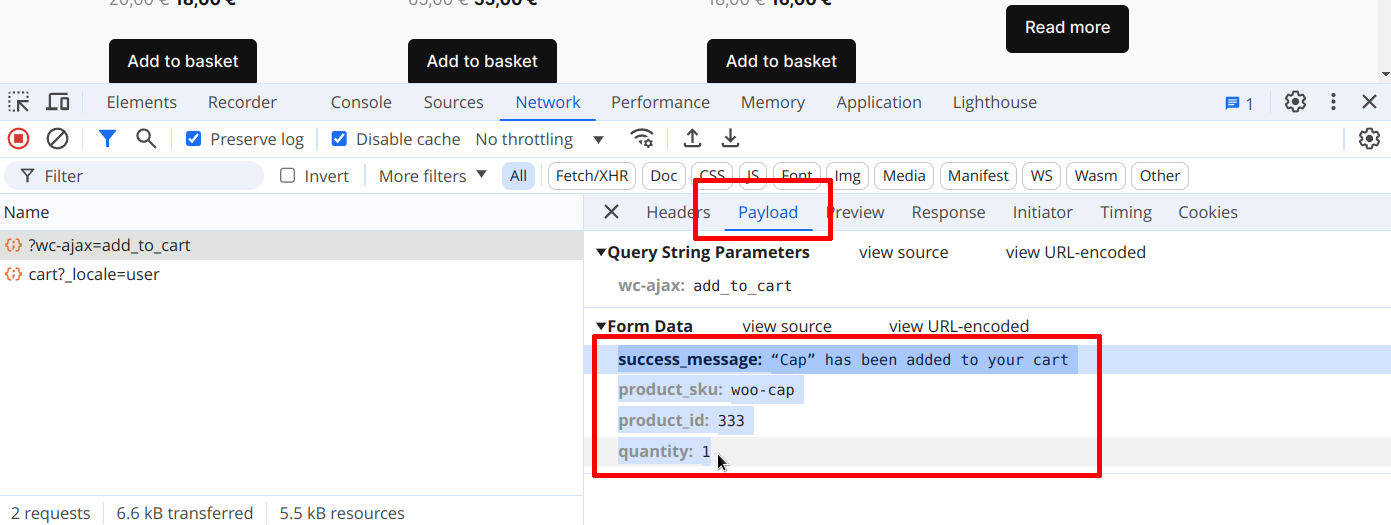
If you see other lines, copy them as well as they could be used and required by other plugins or extensions.
Step 8
Paste the data into your favorite text editor, unformatted.
Now we just need to replace all colons (:) used to delimiter the keys and their values with an equal sign (=):
Before:
success_message: “Belt” has been added to your cart
product_sku: woo-belt
product_id: 332
quantity: 1
After:
success_message= “Belt” has been added to your cart
product_sku= woo-belt
product_id= 332
quantity= 1
There’s no need to encode the data, Code Profiler will handle that for you.
Step 9
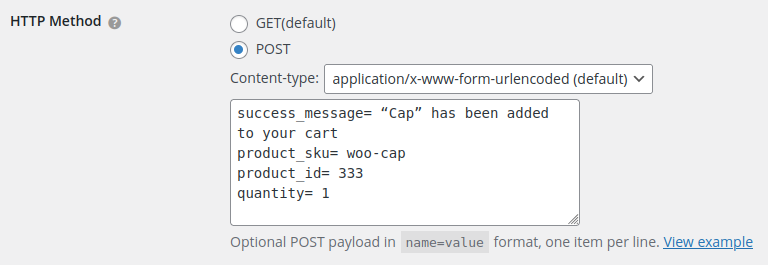
Go to Code Profiler “HTTP Method” section, select POST, application/x-www-form-urlencoded and paste the payload into the textarea field:
Step 10
Go back to WooCommerce and empty your shopping cart.
That’s it! Now you can run Code Profiler.
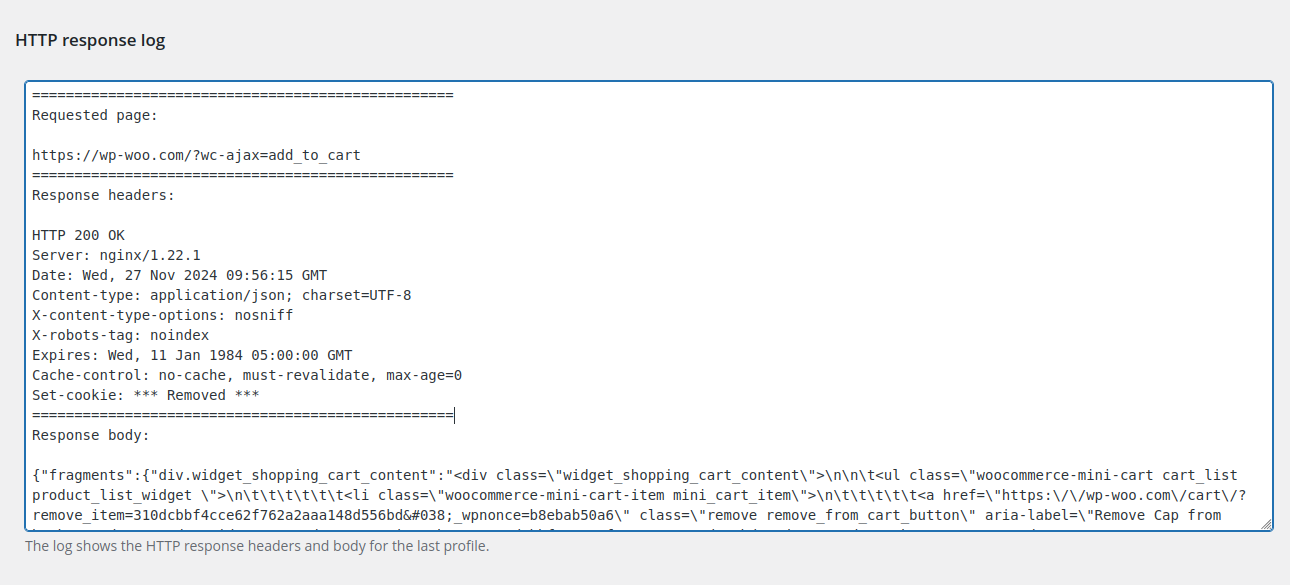
When the profile is created, click on the profiler’s “Logs” tab and check the “HTTP response log”. You should see the application/json data returned by WooCommerce confirming that the operation was successful:
Go to WooCommerce cart page and you should see the item that was added by the profiling process:
